This article explains how to create this beautiful blog with the static site generator Hugo, the theme Blowfish, GitHub for storage, Giscus for comments, and Cloudflare for hosting. And the best thing: it doesn’t cost you a penny!
My Blog Journey #
I’m blogging for more than 15 years now. During that time, I tested and used different blogging technologies and products. I started with a hosted service. While writing was okay, it lacked flexibility and personalization possibilities. I then moved to a self-hosted WordPress installation, which solved these problems. But, WordPress was slow, maintenance intensive, and I had to pay and maintain a virtual private server which was idling the majority of the time.
Before the current setup I used GitHub pages, which is also free. I invested quite some time in finding the perfect theme, and right after I had everything set up, the theme’s developer stopped maintaining the free version and focused on an overpriced paid version. What a waste of time…
Architecture #
The final architecture is shown below:

Let’s find out how my requirements led to that architecture.
- Performance: the blog should load amazingly fast for my readers.
- Low maintenance: I don’t want to upgrade servers and apps all the time. I’m okay with a little maintenance here and there.
- Markdown support: articles should be written in Markdown for a good writing experience and easy migrations in case I move to another solution in the future.
- Active developers or community: the solution should be well maintained by the project developers or the community. I don’t want a second GitHub pages scenario.
- Easy and high security: should use the latest and greatest security techniques which I can switch on easily.
- Cost: keep the cost minimal or to zero.
- Beautiful, with dark mode: a beautiful and modern theme, that includes dark mode. I love dark mode, but there are others who don’t. I want dark mode as default, but give the reader the option to choose.
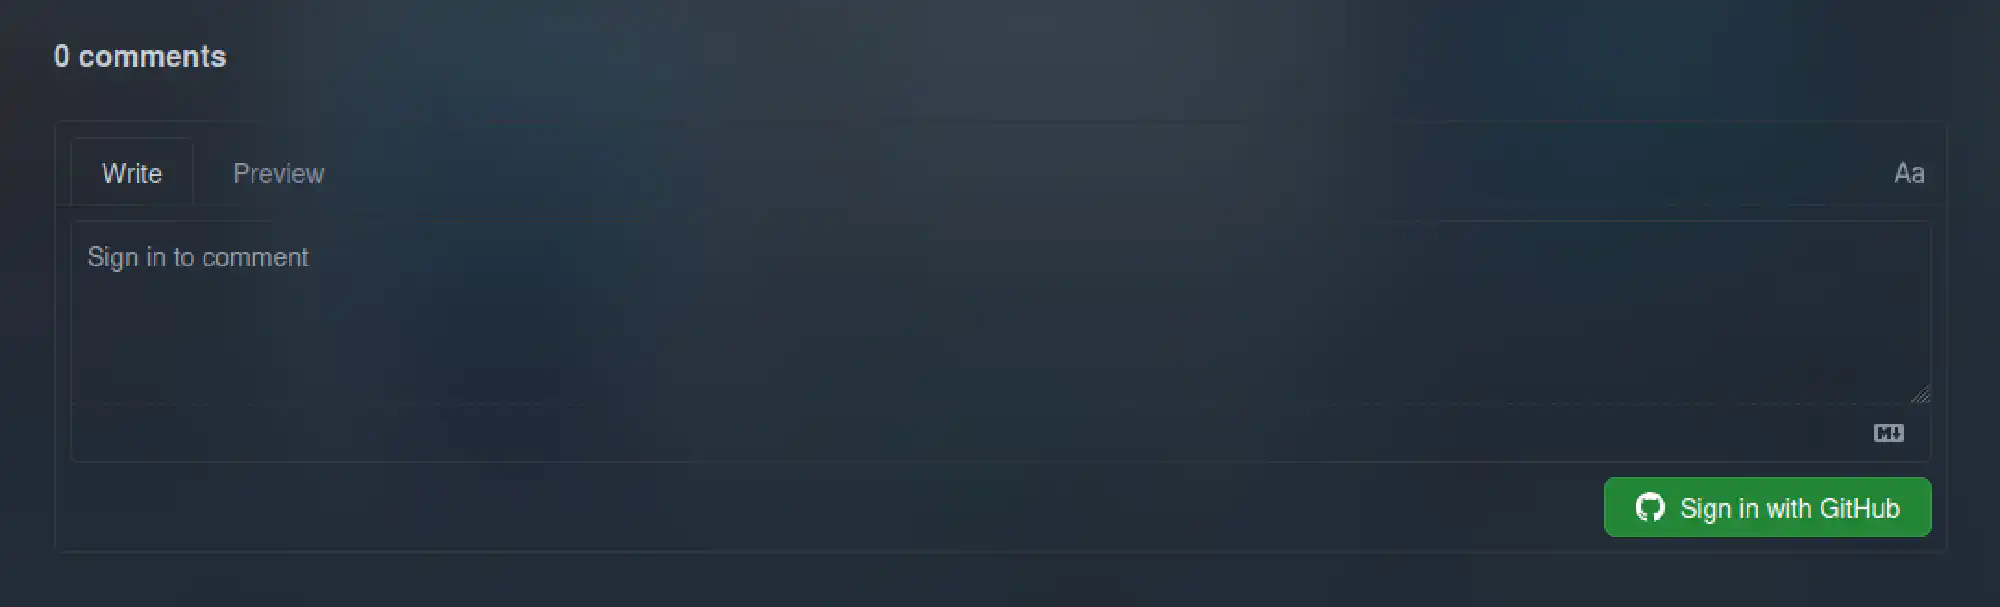
- Comments: Readers should have the ability to comment on my articles to share thoughts and provide feedback. I don’t want to outsource the comments, but have the data in my control.
Hugo - Static Site Generator #
A static site generator (SSG) is a tool that compiles content into static HTML files, which can be served quickly and efficiently. The benefits of SSGs compared to tools like WordPress include better performance due to faster load times since static sites don’t require server-side processing, enhanced security with fewer vulnerabilities as there’s no database or dynamic processing, and simplicity in hosting and management, often requiring only basic web hosting. Additionally, content can be managed in code repositories like GitHub, which I like.
The most popular SSGs are Jekyll, used by GitHub pages under the hood, and Hugo. I’m sure there are differences if you ask a web developer, but for me as someone who wants to run just a small blog, the nuances don’t matter.
I went with Hugo mainly because of the theme Blowfish.
Blowfish - A Beautiful and Powerful Hugo Theme #
There are lots of Hugo themes available, but only Blowfish ticked all boxes for me.
Feature overview:
- Multiple homepage layouts
- Dark mode (forced on/off or auto-switching with user toggle)
- Series of articles
- Scrollable table of contents
- Support for several shortcodes like Gallery, Timeline, GitHub cards, and Carousels
- Fully documented with regular updates
- Full feature list
GitHub - Store Drafts and Public Content #
As SSGs create static HTML files, you can store your whole blog in a git system like GitHub and can benefit from version control. Also, GitHub allows unlimited private and public repositories.
I store my work in a private repository, so I can privately work on new articles.
Cloudflare - Ship Your Website Fast and Secure #
Cloudflare is a web performance and security company that provides services like content delivery network (CDN), DDoS protection, and website optimization. By acting as a reverse proxy, it helps enhance site speed, improve security, and manage traffic efficiently.
They have a very generous free tier and allow you to host multiple websites for free including the latest security and optimization technologies.
Giscus - Using GitHub Issues For Comments #
I use Giscus for comments. Giscus is a great solution for small blogs like mine. It’s free, easy to set up, and the comments are stored in my GitHub repository. I don’t have to worry about a third-party service shutting down and losing all my comments. Well, GitHub could shut down, but that is unlikely to happen soon.
Blog Requirements Solved ✅ #
Let’s check how the above technologies solve my requirements.
- Performance: achieved through Cloudflare
- Low maintenance: there are no servers to manage, only Hugo and Blowfish need to be updated.
- Markdown support: Hugo supports markdown.
- Active developers or community: Hugo and Blowfish both receive regular updates.
- Easy and high security: achieved through Cloudflare.
- Cost: all technologies described above are free to use. I only pay for the domain.
- Beautiful, with dark mode: supported by Blowfish.
Installation Instructions #
This section gives detailed installation instructions and shows how the technologies work together.
Hugo #
Follow the installation instructions for Hugo for your operating system (details).
I’ve used winget on Windows:
winget install Hugo.Hugo.ExtendedDon’t create a new Hugo project, Blowfish will do that for you.
Blowfish #
First, create a new private repository in GitHub and clone it locally.
cd your/path
git clone [email protected]:YourUsername/YourRepository.git
Normally, you create Hugo projects and install themes manually. But the Blowfish team created a CLI which makes the installation and maintenance a lot easier.
Download the latest NPM LTS version and install it.
Install the Blowfish CLI:
npm i -g blowfish-toolscd into to your git repository directory and run the command blowfish-tools to start an interactive setup. It will take you through installation and configuration. When asked for a directory, use . to specify the current one.
More information on the installation is available in the Blowfish docs.
Follow the getting started guide to customize your site. There is also this tutorial to support with the first steps.
Cloudflare #
Create a free account on cloudflare.com.
Go to Workers & Pages and click Create to create a new page.
Choose Create by importing an existing Git repository and connect Cloudflare to GitHub.
In the build configuration, choose Hugo as the framework and select your repository. The build command is hugo and the output directory is public.
Every time you push changes to your repository, Cloudflare will automatically build and deploy your site. Pushes to the main branch will be deployed to the production URL, while pushes to other branches will be deployed to a preview URL.
Giscus Comments #
To enable comments, follow the Giscus installation guide. It’s a simple process and only requires a few clicks.
Blowfish supports any comment system, including Giscus, with a Hugo partial. Create a layouts/partials/comments.html and paste the code provided by Giscus.
<script src="https://giscus.app/client.js"
        data-repo="[ENTER REPO HERE]"
        data-repo-id="[ENTER REPO ID HERE]"
        data-category="[ENTER CATEGORY NAME HERE]"
        data-category-id="[ENTER CATEGORY ID HERE]"
        data-mapping="url"
        data-strict="0"
        data-reactions-enabled="1"
        data-emit-metadata="0"
        data-input-position="top"
        data-theme="transparent_dark"
        data-lang="en"
        data-loading="lazy"
        crossorigin="anonymous"
        async>
</script>
In every article where you want to enable comments, add the following line to the site’s metadata:
comments: truePublish Your First Article #
Create a new folder in /content/posts and add a index.md with some metadata about your article.
# index.md
---
author: Dominik Britz               # Your name
date: "2024-09-18"                  # Publishing data
title: "Article title"              # Title
featured: false                     # Highlight featured articles on the homepage
draft: yes                          # Drafts are ignored by the `hugo` build commands
tags:                               # Tag your articles to make it easier for readers to find similar content
  - Hugo
  - Blowfish
  - GitHub
  - Cloudflare
comments: true                      # Whether comments should appear under the article
series: ["My series"]               # Optional. All series articles are highlighted and linked at the beginning of the article
series_order: 1                     # Optional. The current article's order in the series
---
Start writing your article in Markdown below the metadata.
You can live preview all changes and drafts you are working on with hugo server --buildDrafts. The live preview refreshes every time you save a file. You can save your progress with git in your private repository anytime and nobody sees your unfinished drafts.
Once you are ready to publish your article, in the metadata section, change draft to no and change the date to the current date. Then run hugo to build the final site to the public folder.
Push the changes to your private repository. Cloudflare sees the new commit in the repository and starts building your website.
After a few minutes, your first article is publically available.
Keeping Your Blog Up To Date #
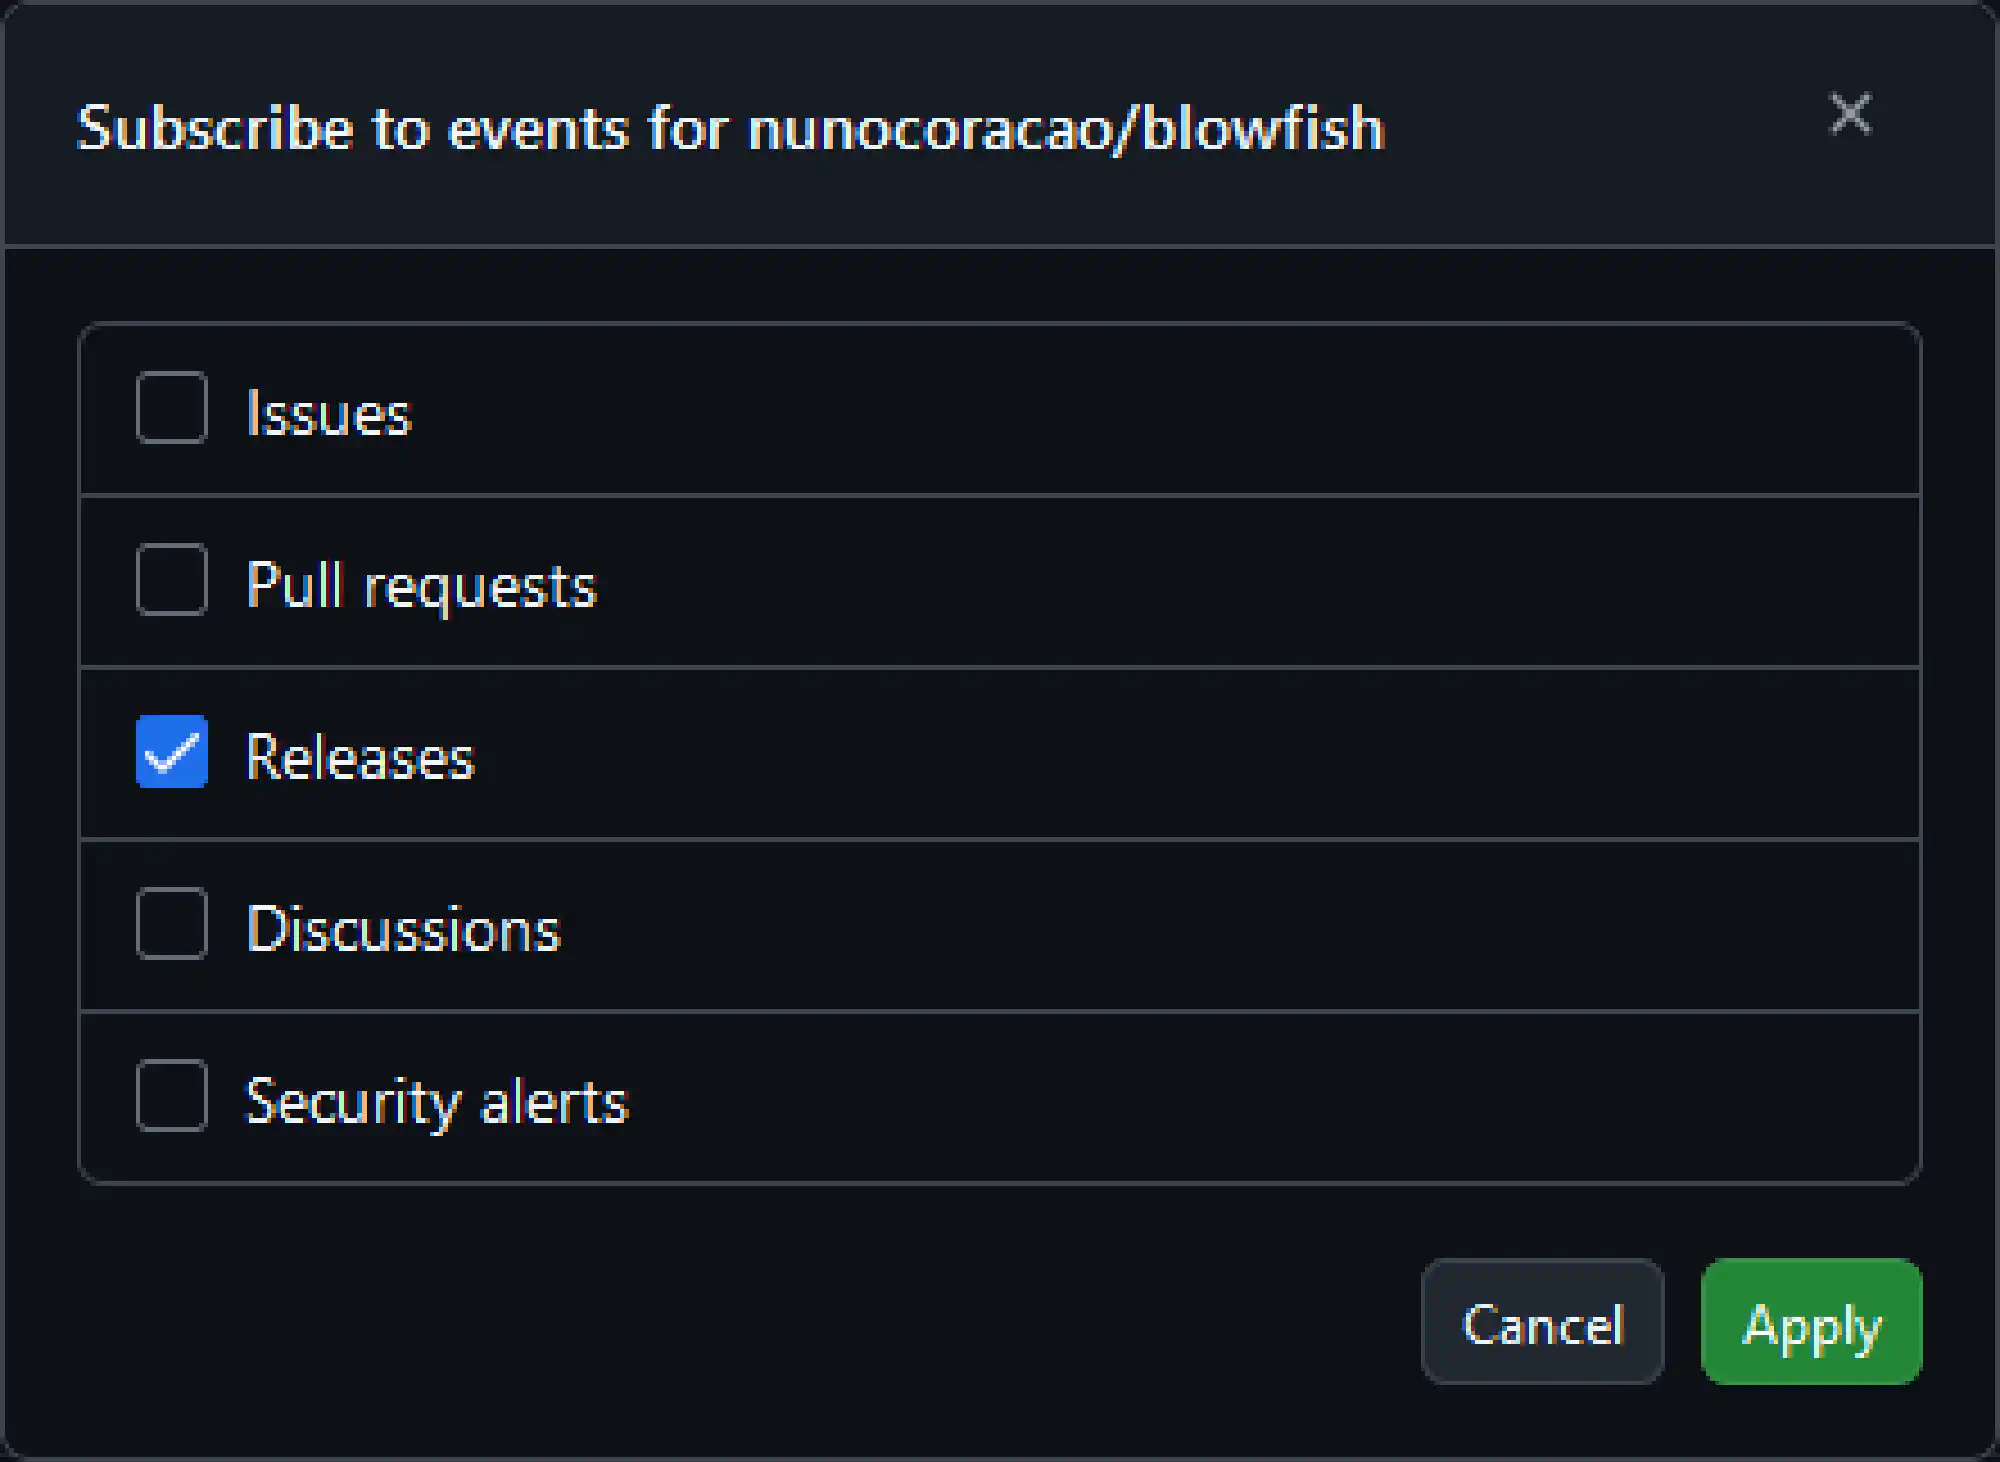
Always keep Hugo and Blowfish updated to benefit from the latest features and security updates. I suggest subscribing to the GitHub releases of both projects.
On the GitHub project page, click on Watch -> Custom and choose Releases.
Hugo #
Update Hugo with winget.
winget upgrade Hugo.Hugo.ExtendedBlowfish #
Update Blowfish with its CLI.
blowfish-toolsFurther Reading #
Here are some other articles that follow the same idea, but differ slightly in the implementation:
- Markus Kraus - Built with Hugo, Cloudflare and Love
- Pablo Jesús González Rubio - Setting Up a Static Page with Hugo, Cloudflare, and Umami Analytics
- Colin Fretwell - Deploy a Hugo Site with Cloudflare Pages and GitHub
Changelog #
- 2025-06-10: Changed the article to use Cloudflare’s Hugo integration instead of a manual setup with copying the public folder to a public repository. I had all kind of issues with the manual setup, especially with CSS. The new setup is much easier and more reliable.
- 2025-02-09: Initial version