This article explains how to set up a self-hosted photo gallery with Immich including cloud backup and OpenID Connect to Authelia.
It is part of my series on creating a home server on an old laptop. I’m assuming that you’ve set up Docker, Caddy, and Authelia, as described in the first article of the series.
Take Control Over Your Memories #
Preserving photos for eternity is the ultimate challenge in a personal context. You want to make sure that your children, friends, and family photos will never be lost.
In the past, I have set up a cascade of external hard drives to store sensitive data, so that if one or more failed, a complete backup would always be available. However, there was always a nagging question in my mind that what if the house and all the hard drives caught fire?
Today’s world has a lot of public cloud services that take care of this concern and give you the peace of mind that your pics are safe, no matter what. Google Photos is the market leader, and rightly so, as the app works exceptionally well — especially the facial recognition and memories features that have become so popular in our household.
But, that comes with a cost: you are no longer in control over your most precious data. I wanted my control back and started searching for alternatives.
Photo Gallery Requirements #
Picking out a photo gallery is important, as you intend to keep it for a long time. Below is my list of criteria:
- Self-hosted: must be running on my home server and not in the cloud
- Actively maintained: when Google started charging money for Google Photos, the open-source community quickly started creating alternatives. Some projects started out promising, but were abandoned quickly. I want a solution with a big community and active developers that will be here in a few years.
- Open-source: Synology, the vendor of my former home server, has a viable solution that ticks all boxes, but you have no influence on the development, nor can you see the current state or a roadmap. I want a solution where I can share ideas, discuss features, and see where the project is going to.
- Native app with upload functionality: a native app for mobile phones that is easy to use and uploads photos automatically to my home server. Using an additional app like Syncthing does not adhere to the WAF (wife acceptance factor).
- Facial recognition: group photos by people, place, and time
- Multi-user and sharing: I’m not the sole user of the service. At least my wife is using it, too. The service must have multi-user support and excellent sharing functionality.
- Memories: present memories from the past years in the mobile app. That’s a hard non-negotiable factor in my family.
- OIDC support: support single sign-on through OIDC with Authelia
Photo Gallery Selection #
Below is a list of galleries that I’ve checked against my requirements. For a more detailed comparison, refer to this table.
Immich: ticks all boxes, but is under active development. There may be breaking changes along the way, according to their website.
Librephotos: no native automatic mobile upload
Nextcloud and Nextcloud Memories: I use Nextcloud for files ( details), so using it for photos as well is close. But I think that software should concentrate on a few things and then do them really well, rather than wanting to be a jack of all trades.
Photoprism: it’s a progressive web app. Uploads are handled through a third-party app. Also, certain features are only available on paid plans.
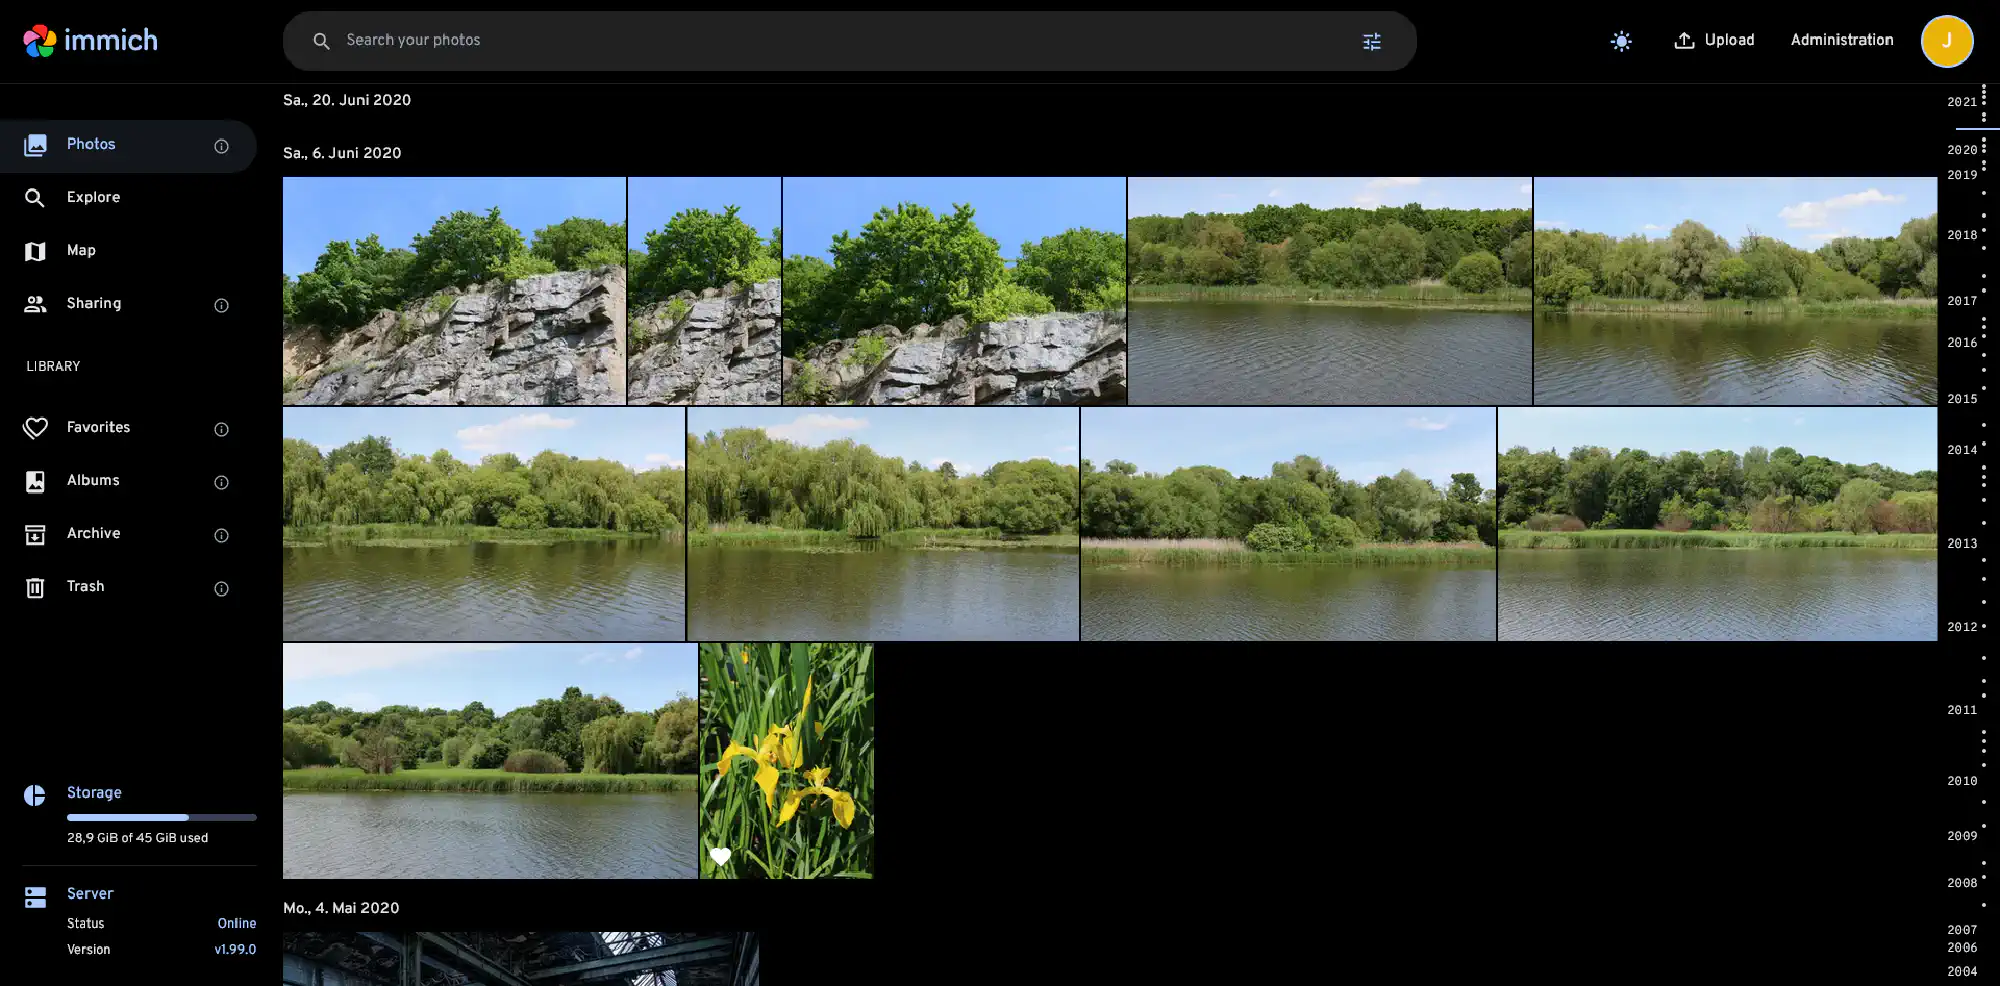
From the above, Immich and Nextcloud have all the features I require. I prefer Immich’s design over Nextcloud’s though, as Immich looks nearly identical to Google Photos. After some research, it turned out that “breaking changes” in Immich means that you have to change something here and there in the Docker compose file and update it carefully. I have the confidence to do that. If that doesn’t suit you, you’re probably better off with Nextcloud.
Immich Installation in Docker Container #
Preparation #
We have to prepare a few things before we can create the stack.
Limited User And Group #
As with Nextcloud, Immich should be running with limited permissions. Hence, we run this stack with the dockerlimited user (
more info).
Files And Folders #
In your WSL client, create a new Ansible role for Immich.
mkdir -p roles/immich/tasks
vim roles/immich/tasks/main.yml
The playbook below is similar to my
Nextcloud one, and one could argue that creating the dockerlimited user again makes no sense. But, that’s the beauty of Ansible’s idempotent nature: if the user already exists, it skips the step.
# main.yml

# Ansible role for Immich
- name: Create user dockerlimited with UID 2000
  user:
    name: dockerlimited                           # change to your preferred username
    uid: 2000                                     # change to your preferred UID

- name: Create directories for Immich
  file:
    path: "/usr/local/data/docker/{{ item }}"     # change to your preferred directory
    state: directory
    owner: dockerlimited
    group: dockerlimited
    mode: 0755                                    # owner has full read, write, and execute permissions, while the group and others have read and execute permissions, but no write permissions
  loop:
    - immich/data                                 # upload storage

- name: Create compose.yaml file
  file:
    path: "/usr/local/data/docker/immich/compose.yaml"
    state: touch
    owner: dockerlimited
    group: dockerlimited
    mode: 0644                                    # Owner has read and write permissions, while the group and others have read permissions
Add the new role to the home.yml playbook in the root:
---
- name: home server
  hosts: localhost
  become: true
  vars_files:
    - vars_files/home.yml
  roles:
    - base
    - home
    - oefenweb.ufw
    - geerlingguy.docker
    - geerlingguy.ntp
    - geerlingguy.security
    - geerlingguy.node_exporter
    - nextcloud
    - immich
Push the changes to GitHub ( details).
gitall
Deploy With Ansible #
On your home server, deploy the just created Immich role.
export PAT=YOUR_PAT_TOKEN
sudo ansible-pull -U https://$PAT:[email protected]/Username/repo-name home.yml
Compose File #
In
Dockge, click Scan Stacks Folder in the user menu at the top right. The immich stack should appear in the list.
At the time I was writing this article, my Immich server was on version 1.99. The compose file below is valid for this version. As Immich is under active development, the contents of the compose file change. Please check
https://github.com/immich-app/immich/releases/latest/download/docker-compose.yml for the latest compose file.
Note the following lines:
labels:
  - com.centurylinklabs.watchtower.enable=false
I update all my Docker images with
Watchtower every night. Immich must be excluded with com.centurylinklabs.watchtower.enable=false, as sometimes changes to the compose file are required when you go to the next version. I update Immich manually.
user: 2000:2000
This line is not in the original compose file. Change it to the IDs of your dockerlimited user.
version: "3.8"
#
# WARNING: Make sure to use the docker-compose.yml of the current release:
#
# https://github.com/immich-app/immich/releases/latest/download/docker-compose.yml
#
# The compose file on main may not be compatible with the latest release.
#

name: immich
services:
  immich-server:
    container_name: immich_server
    hostname: photos
    user: 2000:2000
    image: ghcr.io/immich-app/immich-server:${IMMICH_VERSION:-release}
    command:
      - start.sh
      - immich
    volumes:
      - ${UPLOAD_LOCATION}:/usr/src/app/upload
      - /etc/localtime:/etc/localtime:ro
    env_file:
      - .env
    expose:
      - 3001
    depends_on:
      - redis
      - database
    restart: unless-stopped
    networks:
      - caddy_caddynet
    labels:
      - com.centurylinklabs.watchtower.enable=false
  immich-microservices:
    container_name: immich_microservices
    user: 2000:2000
    image: ghcr.io/immich-app/immich-server:${IMMICH_VERSION:-release}
    # extends:
    #   file: hwaccel.yml
    #   service: hwaccel
    command:
      - start.sh
      - microservices
    volumes:
      - ${UPLOAD_LOCATION}:/usr/src/app/upload
      - /etc/localtime:/etc/localtime:ro
    env_file:
      - .env
    depends_on:
      - redis
      - database
    restart: unless-stopped
    networks:
      - caddy_caddynet
    labels:
      - com.centurylinklabs.watchtower.enable=false
  immich-machine-learning:
    container_name: immich_machine_learning
    image: ghcr.io/immich-app/immich-machine-learning:${IMMICH_VERSION:-release}
    volumes:
      - model-cache:/cache
    env_file:
      - .env
    restart: unless-stopped
    networks:
      - caddy_caddynet
    labels:
      - com.centurylinklabs.watchtower.enable=false
  redis:
    container_name: immich_redis
    image: redis:6.2-alpine@sha256:b6124ab2e45cc332e16398022a411d7e37181f21ff7874835e0180f56a09e82a
    restart: unless-stopped
    environment: []
    networks:
      - caddy_caddynet
  database:
    container_name: immich_postgres
    image: tensorchord/pgvecto-rs:pg14-v0.2.0@sha256:90724186f0a3517cf6914295b5ab410db9ce23190a2d9d0b9dd6463e3fa298f0
    env_file:
      - .env
    environment:
      POSTGRES_PASSWORD: ${DB_PASSWORD}
      POSTGRES_USER: ${DB_USERNAME}
      POSTGRES_DB: ${DB_DATABASE_NAME}
    volumes:
      - pgdata:/var/lib/postgresql/data
    restart: unless-stopped
    networks:
      - caddy_caddynet
    labels:
      - com.centurylinklabs.watchtower.enable=false
volumes:
  pgdata: null
  model-cache: null
networks:
  caddy_caddynet:
    external: true
env File #
The .env file holds configurations for the Immich stack and can be edited in the Dockge UI directly.
Generate a random alphanumeric string to be used as database password:
tr -cd '[:alnum:]' < /dev/urandom | fold -w "32" | head -n 1
# You can find documentation for all the supported env variables at https://immich.app/docs/install/environment-variables

# The location where your uploaded files are stored
UPLOAD_LOCATION=/media/18TB/photos/library

# The Immich version to use. You can pin this to a specific version like "v1.71.0"
IMMICH_VERSION=release

# Connection secret for postgres. You should change it to a random password
DB_PASSWORD=your_password

# The values below this line do not need to be changed
###################################################################################
DB_HOSTNAME=immich_postgres
DB_USERNAME=postgres
DB_DATABASE_NAME=immich

REDIS_HOSTNAME=immich_redis
Let’s Encrypt Certificate via Caddy #
Caddyfile #
Add the following to Caddyfile ( details):
photos.{$MY_DOMAIN} {
        reverse_proxy immich:3001
        tls {
                dns netcup {
                        customer_number {env.NETCUP_CUSTOMER_NUMBER}
                        api_key {env.NETCUP_API_KEY}
                        api_password {env.NETCUP_API_PASSWORD}
                }
                propagation_timeout 900s
                propagation_delay 600s
                resolvers 1.1.1.1
        }
}
DNS A Record #
Add the following A record to your DNS domain:
photos.home.yourdomain.com 192.168.178.254 # replace with your Docker host's IP address
Reload Caddy’s Configuration #
Instruct Caddy to reload its configuration by running:
docker exec -w /etc/caddy caddy caddy reload
Immich is now accessible via https://photos.home.yourdomain.com.
Post Install Steps #
Follow the official post install steps to:
- Create your user as the admin user.
- Create additional users (optional)
- Update the storage template
- Download and set up the mobile app
SSO to Immich via OpenID Connect (OIDC) Authentication to Authelia #
This section describes how to set up single sign-on to Immich via OpenID Connect authentication to Authelia.
Client Secret #
Generate a random alphanumeric string to be used as client secret:
tr -cd '[:alnum:]' < /dev/urandom | fold -w "64" | head -n 1
Authelia Configuration File #
Add the following to the oidc: section of Authelia’s configuration file config/configuration.yml:
clients:
  - id: immich
    description: immich
    secret: 'your secret'
    scopes:
      - openid
      - profile
      - email
    redirect_uris:
      - https://photos.home.yourdomain.com/auth/login
      - https://photos.home.yourdomain.com/user-settings
      - app.immich:/
Restart Authelia #
We changed the container’s environment, which makes it necessary to recreate the container (stopping and starting is not enough). Navigate to the Authelia stack in Dockge and click Stop & Inactive. Then start the stack.
Inspect Dockge’s terminal window for any errors.
Immich Configuration #
In Immich, go to Administration → Settings → OAuth Authentication and configure the following:
- Enable: yes
- Issuer URL: https://authelia.home.yourdomain.com
- Client ID: Immich
- Client secret: your secret
- Scope: openid email profile
- Signing algorithm: RS256
- Storage label claim: preferred_username
- Storage quota claim: immich_quota
- Default storage quota: you may define a quota here
- Auto register: yes
- Auto launch: yes
- Mobile redirect uri override: no
Restart the Immich stack through Dockge. Log in with your user via Authelia.
Migrate from Google Photos #
The community created a command-line tool to import your Google photos into Immich.
- Export your Google photos with Google Takeout. Read the best practices first.
- Import the exported zip files with immich-go
Migrate from Synology Photos #
I had many photos stored in a directory structure containing years and event names (like 2024\2024-01-01 happy new year) on my old Synology NAS, which I moved to Immich as well. While I moved off a Synology, the instructions below can be used for any folder-based structure.
Clean the Import #
I did not do a great job organizing my photos on the Synology and had numerous duplicates. I took the migration to Immich as an opportunity to fix that.
Czkawka was very helpful in cleaning my files before importing.
File Copy Operations #
Mount the Synology photo share and copy the files to your home server.
# Mount the Synology share on my home server
mkdir /mnt/synology_photos
mount -t cifs -o user=username //synology/photo /mnt/synology_photos

# Copy the files to my external media drive
mkdir /media/18TB/photos/from_synology
rsync -avh /mnt/synology_photos/ /media/18TB/photos/from_synology
Update The Compose File #
Add the from_synology folder as a read-only volume to the immich-server and immich-microservices services in the compose.yaml.
volumes:
  - /media/18TB/photos/from_synology:/mnt/media/from_synology:ro
Add External Library in Immich #
External libraries in Immich are perfect for adding existing photos. From their documentation:
External libraries tracks assets stored outside of immich, i.e. in the file system. Immich will only read data from the files, and will not modify them in any way. Therefore, the delete button is disabled for external assets. When the external library is scanned, immich will read the metadata from the file and create an asset in the library for each image or video file. These items will then be shown in the main timeline, and they will look and behave like any other asset, including viewing on the map, adding to albums, etc.
Go to Administration → External Libraries and add /mnt/media/from_synology as a library.
After Immich has processed all files, they appear in your timeline.
Cloud Backup #
A good backup is crucial for photos. I back up my data encrypted to the cloud with resticprofile.
According to the Immich documentation, one must back up the database and a few folders in the file system.
Database #
Add the pg_dumpall command to the run-before section of your resticprofile configuration in /usr/local/data/resticprofile/profiles.yaml.
run-before:
  - "docker exec -t immich_postgres pg_dumpall -c -U postgres | gzip > /usr/local/data/docker/immich/db_dump.sql.gz"
  - "systemctl stop docker.socket"
  - "systemctl stop docker"
Verify that the Docker folder is part of the source section.
source:
  - "/usr/local/data/docker"
File System #
If you place the uploaded photos in the stack folder, i.e., /usr/local/data/docker/immich, add /usr/local/data/docker/immich/thumbs and /usr/local/data/docker/immich/encoded-video to the excludes file (
more info).
If you don’t place the uploaded photos in the stack folder, like me, add the following paths to the source section. Replace UPLOAD_LOCATION with the path set in your
.env file.
UPLOAD_LOCATION/libraryUPLOAD_LOCATION/uploadUPLOAD_LOCATION/profile
Also, add any external library.
Here is my source section in the profiles.yaml:
source:
  - "/usr/local/data/docker"
  - "/usr/local/data/resticprofile"
  - "/media/18TB/photos/library/library"
  - "/media/18TB/photos/library/upload"
  - "/media/18TB/photos/library/profile"
  - "/media/18TB/photos/from_synology"
  - "/etc/unbound/unbound.conf"