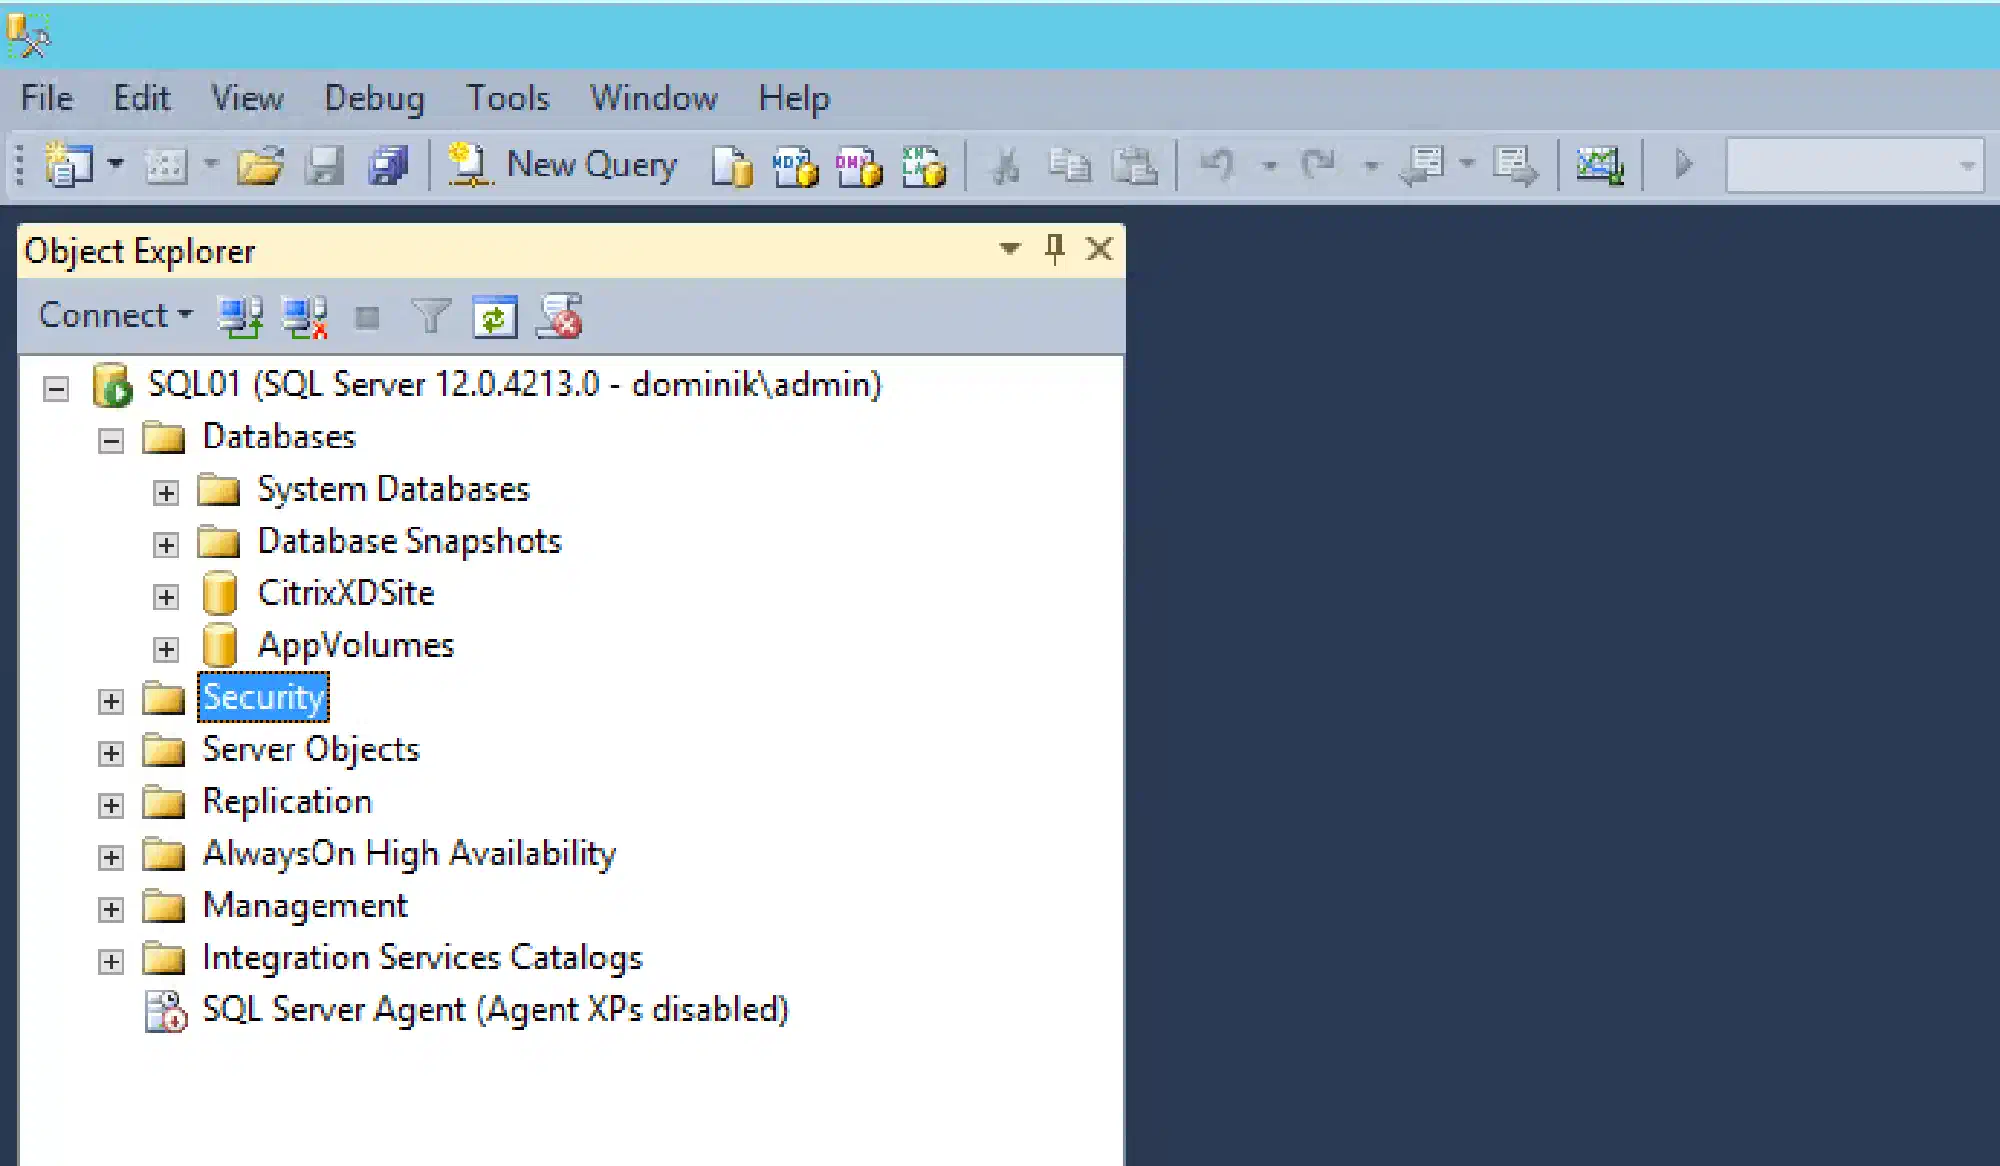
In my lab I need a MS SQL Server for various reasons: Citrix XenDesktop, VMware Composer, VMware AppVolumes and other products. The SQL setup is quite slow and you have to wait in front of it as the installation and configuration is not separated. So I automated this nasty but needed component for my lab with a PowerShell script.
This script will install the MS SQL Server with Windows and integrated authentication. I need Windows authentication for Citrix XenDesktop and integrated authentication for VMware Composer, this is why I prefer to enable both methods.
You need to specify three variables for the script to run:
SAPWD= Password for the sa user. If you don’t define it in the script the script will ask you for a password.SQLSYSADMINACCOUNTS= AD user or group that will get SQL administrator.PathToSetup= Path to the SQL Server setup file.
Install-LabSQLServer.ps1:
<#
     .SYNOPSIS
     This script will install Microsoft SQL Server 2014 in your lab.

     .NOTES
     You need a Windows Server 2012 R2 for this script to work.
     This script is part of a series to automate your lab on www.dominikbritz.com
#>

#Requires -Version 3
#Requires -RunAsAdministrator

###
### Variables
###
$SAPWD = Read-Host 'Enter the password for the SQL sa user'
$SQLSysAdminAccounts = "$env:USERDOMAIN\SQL_Admins" # AD user or group that will get SQL administrator
$PathToSetup = 'D:\setup.exe'

###
### Script
###
Try
{
    Test-Path $PathToSetup -ErrorAction Stop
    Write-Output 'Adding Windows Feature .Net Framework'
    Add-WindowsFeature net-framework-core -ErrorAction Stop

$ini=@"
;SQL Server 2014 Configuration File
[OPTIONS]
ACTION="Install"
ENU="True"
IACCEPTSQLSERVERLICENSETERMS="True"
QUIET="False"
QUIETSIMPLE="True"
UpdateEnabled="True"
ERRORREPORTING="False"
USEMICROSOFTUPDATE="True"
FEATURES=SQLENGINE,SSMS,ADV_SSMS
UpdateSource="MU"
HELP="False"
INDICATEPROGRESS="False"
X86="False"
INSTALLSHAREDDIR="C:\Program Files\Microsoft SQL Server"
INSTALLSHAREDWOWDIR="C:\Program Files (x86)\Microsoft SQL Server"
INSTANCENAME="MSSQLSERVER"
SQMREPORTING="False"
INSTANCEID="MSSQLSERVER"
INSTANCEDIR="C:\Program Files\Microsoft SQL Server"
AGTSVCACCOUNT="NT Service\SQLSERVERAGENT"
AGTSVCSTARTUPTYPE="Manual"
COMMFABRICPORT="0"
COMMFABRICNETWORKLEVEL="0"
COMMFABRICENCRYPTION="0"
MATRIXCMBRICKCOMMPORT="0"
SQLSVCSTARTUPTYPE="Automatic"
FILESTREAMLEVEL="0"
ENABLERANU="False"
SQLCOLLATION="Latin1_General_CI_AS"
SQLSVCACCOUNT="NT Service\MSSQLSERVER"
SQLSYSADMINACCOUNTS="$SQLSYSADMINACCOUNTS"
SECURITYMODE="SQL"
SAPWD="$SAPWD"
ADDCURRENTUSERASSQLADMIN="False"
TCPENABLED="1"
NPENABLED="0"
BROWSERSVCSTARTUPTYPE="Disabled"
"@
    New-Item -Path $env:TEMP -Name 'configuration.ini' -ItemType File -Force
    Set-Content -Value $ini -Path "$env:TEMP\configuration.ini" -Force

    Write-Output 'Starting installation. Go and grab a coffee.'
    Start-Process -FilePath $PathToSetup -ArgumentList "/ConfigurationFile=`"$env:TEMP\configuration.ini`"" -Wait
    Remove-Item -Path "$env:TEMP\configuration.ini" -Force
}
Catch
{
    Throw $_
}